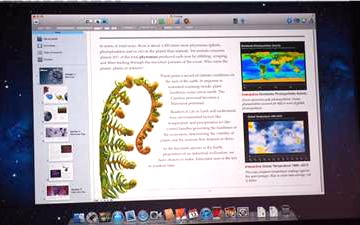
 Apple has just announced iBooks 2 to “reinvent the textbook”. This is directed towards students and teachers to allow for interactive textbooks. Since many educational institutions use iPads, this is a step to lose those heavy textbooks.
Anyone can create a book for iBooks with Apple releasing the iBooks Author app in the Mac Store. It uses simple drag and drop features with Word files and images so that everything is done for you. One drawback is that OS X Lion is required to run iBooks Author.
Since iBooks Author requires you to have OS X Lion installed, it makes it difficult for those of us who have not upgraded from Snow Leopard yet.
Here is how you can get around that and install iBooks Author on Snow Leopard
*Digital Tweaker in no way supports this method and is providing this information for educational purposes only. If you plan on publishing on iBooks, you should upgrade to OS X Lion
- Update iTunes to 10.5.3
- Open Finder
- Click on your hard drive
- Double click System
- Double click Library
- Double click CoreServices
- Right click (or Control Click) SystemVersion.plist and select copy (leave this window open or minimized)
- Right click (or Control Click) on your desktop and select paste item
- Now open the file from your desktop by double clicking
- Now change the two places near the bottom of the file where they say
10.6.8 to10.7.2 . Your version may differ such as 10.6.x - Click File->Save
- You will be asked to overwrite, select overwrite
- Right click (or Control Click) on the file you just edited and select copy
- Open the window that you copied SystemVersion.plist from and select Edit->Paste Item. (You will be asked to authenticate, select authenticate) and if you would like to replace the file. Select replace. Enter your password if it asks)
- Now go to the Mac App Store and search for iBooks Author and install (Don’t Run Yet)
- Be sure to close the Mac App Store (yes you can close as app downloads)
- Open the SystemVersion.plist that you edited on your desktop and change what you did previously back to your original version. Example: change both instances of
10.7.2 to10.6.8 - Click File->Save
- You will be asked to overwrite, select overwrite
- Right click (or Control Click) on the file you just edited and select copy
- Open the window that you copied SystemVersion.plist from and select Edit->Paste Item. (You will be asked to authenticate, select authenticate) and if you would like to replace the file. Select replace. Enter your password if it asks)
- Now, Go to your Applications folder under your Snow Leopard Hard drive
- Right Click (or Control Click) iBooks Author and click Show Contents
- Double click Contents folder
- Double click Info.plist
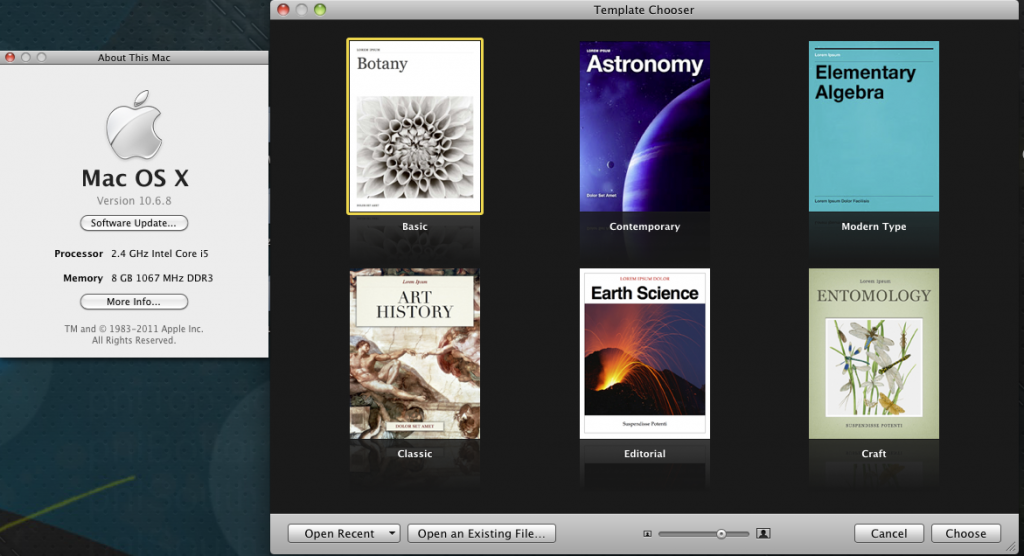
- Search for 10.7.2 and change to your version of Snow Leopard, in our case 10.6.8
- Go to File in the Menu bar and select save
- Now open iBooks Author, you should be good to go!
- iBooks Author may seem not to work when you open it, but just click File->New to start
**Please note that throughout the process your app icon will probably have a slash through it, this is ok.
Watch The Video Tutorial Here


