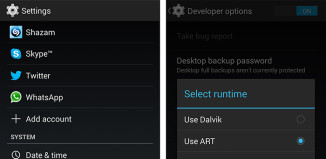
Google has already started rolling out the Android 4.0.3 Ice Cream Sandwich update to GSM/UMTS Nexus S owners. This will be a gradual roll out over a month period, so if you haven’t received the update yet don’t worry it will eventually. Or if you are impatient you can download the Android 4.0.3 ICS file and install it following the directions below.
Install Android 4.0.3 Ice Cream Sandwich on the Nexus S:
- Download the official Android 4.0.3 Ice Cream Sandwich zip file
- Rename the file to update.zip
- Copy the update.zip file to the root directory of your Nexus S by connecting it to your PC with the USB.
- Turn off your Nexus S
- Press and hold the Volume Up button and press the power button while continuing to hold the Volume Up button
- You should get a list of options, navigate using the volume buttons and select RECOVERY using the power button
- You should see an exclamation mark on the screen. Hold down the Power button and then the Volume Up button.
- You should now be in the Nexus S recovery menu. Navigate using the volume buttons and select “update from SD card” with the Power button
- Select the update.zip file you placed on your device and press the Power button
- The update to Android 4.0.3 ICS should start and once it has complete, select “reboot system now” and hit the Power button.


